Tutorial To use Image Pixel for Tooling Matching
Getting Started
This feature is an addition option in Data Range Classification. Unlike other option, The calculation in selecting the tool will be depend on the colour matching between the selected tool and the color at particular location in the image. For example, if the area of the image being calculated is green, then the selected tool that assigned to green color will be selected.
When selecting this option, user can determine the color matching accuracy. The more value, the more tolerance the matching process. When using the smaller value, the accuracy will be accurate. In practical situation, I would suggest the select 5 as the tolerance value when selecting this option. When choosing this option, the Reverse calculation, or Tooling Laser will have no effect and available.
Image and Color Value
The first thing we need to do when using Tool Color for Data Range Classification is to determine the color value on the image. In doing so, we need to open the image into image editor software such as Paint.Net which you can download for free. The reason we need to use this type of software is to gain information regarding the color in RGB Value, then we make a note that color information to be used to determine the tool color in Image2Punch.
In order to retrieve the color information from the image, you need to click the Color Picker Button, then position the cursor on the particular position where you want to find the RGB Value. After that you need to press the left hand button on your mouse to gain the information on the Color Dialog Box. Please have a look into the information below.

From the image that we are going to use, we know that there are 5 different color and the RGB value for each color can be seen from the illustration below.

Creating Tool with Particular Color
The next step that we need to do is to determine which tool will be used for particular color. If the tool does not exist, we need to create it again by opening the Tool Database dialog box for particular shape ( e.g. hexagon). In the case for this tutorial, I will use a Hexagon tool with of 5.0mm Diameter to be used for yellow color with RGB value ( 255,237,75). Then a Round tool of 5.0mm Diameter to be used for red color (254,0,0). For blue color(72,1,255), I will use Triangle shape tool of 6.0mm Diameter. For Green color (0,254,33), I will select Rectangle tool that has width 6.0mm and height is 6.0mm. The last color, which is cyan (1,255,255), i will use Horizontal Obround tool with dimension of 5.0mm x 2.0mm.
When determining the color, we need to click the color box, then the dialog boX will come up. After that we need to select the “Custom Color…” button so a custom color dialog box will be come up. Then we need to specify the color vale ( in RGB Mode). After that we click Apply and close the dialog box and so the tool color for this hexagon will be yellow.

Click the Color Button, then select the Custom Color

Specify and type the RGB Value and click ok to select it

Now the color has been changed to yellow. Then click apply and close the dialog box
Tool Selection
After we creating all the tools with specific tool color, the next thing to do is to select all the tools for pattern generation. We also need to ensure that the Punch Mode Tooling is selected. Then we collect all the tool to be used by clicking the Select Tools button and chose the tool one by one.

Parameter Configuration
The last thing we need to do before pressing the Generate button is to ensure that we select all other parameter/setting that are required for generating the pattern based on this particular data range classification. The important configuration is to select the Tool Color option in the Data Range Classification dialog box. Then we need to specify Tool Color Tolerance which is 7. In case that the color recognition is not properly, the user may need to increase the tolerance up to 10.

Then we also need to specify the 2nd option when the pixel is calculated to determine the color value. The second option is Luminance method.

The other configuration and parameter are left to be decided by the user. However, the Punch data range will not have any influence during the calculation for this perforated pattern as the tool color itself that will be the major factor to determine the pattern.
Pattern Generation and Result
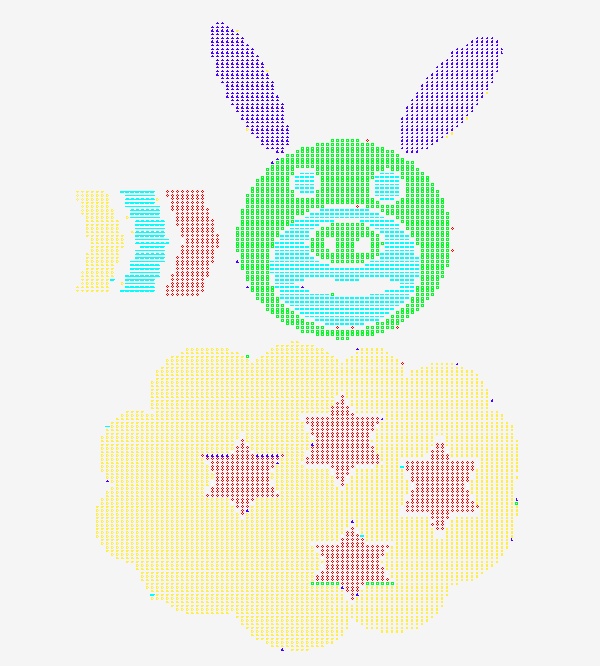
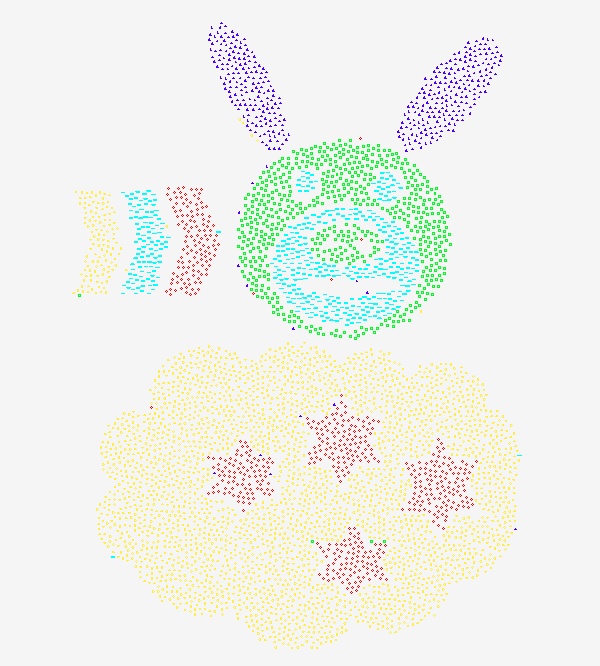
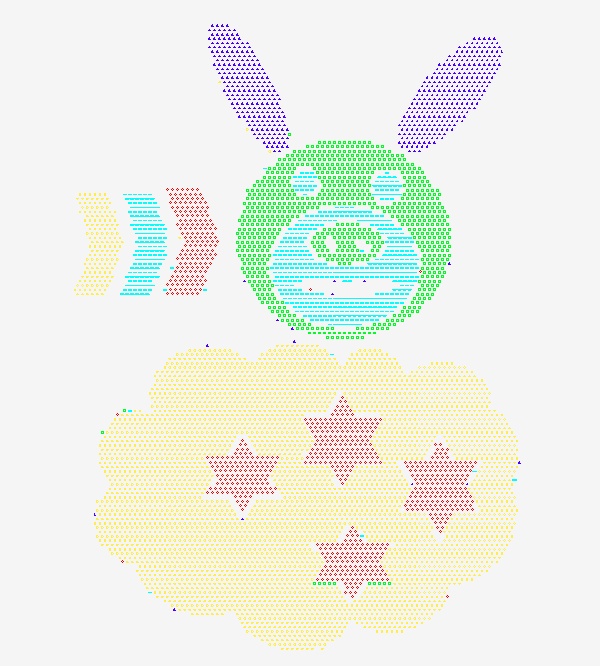
For the purposes of this tutorial, I have created few pattern based on different pattern type. Please note that if there are any color in the image that does not match with the color from selected tools, the area of that color will be left empty without ant perforation.
Also please note in using and selecting pattern, it is a good idea that the color has distinguish value from one to another. If the different is clear and distant, the recognition will be better and accurate, however if the color value is not that different, the recognition may not work properly. An example that two color pair is good for recognition is RGB(0,255,100) and RGB(100, 100, 0). On the other hand, the color of RGB(0,200,50) and RGB(10,190, 55) can make a false recognition.


